Sunday, March 27, 2011

Sew it Together

On Saturday I went to the Sew it Together event in Sydney. I only found out about this event recently and was so glad I went. So much fun to be in a room full of other people who like to craft and sew and talk about fabrics!

I started making a door stop at the Sew it Together (SIT) workshop and am pleased to say I finished it!! As I was leaving Leah said - put it on your blog - so I credit her with the inspiration to finish my doorstop house - thank you Leah.


Whilst I am pleased to have it finished there are a couple of issues - firstly I think it is a little overstuffed! Secondly it is not quite heavy enough to be a truly effective doorstop. However having just finished it I think I will enjoy that for a while before renovating!

Also just wanted to put a really big Thank you out there to Sheridan of chaletgirl for organising the weekend - no doubt it was a lot of work - but a truly awesome event!

Tuesday, March 22, 2011

Buttons Buttons Buttons


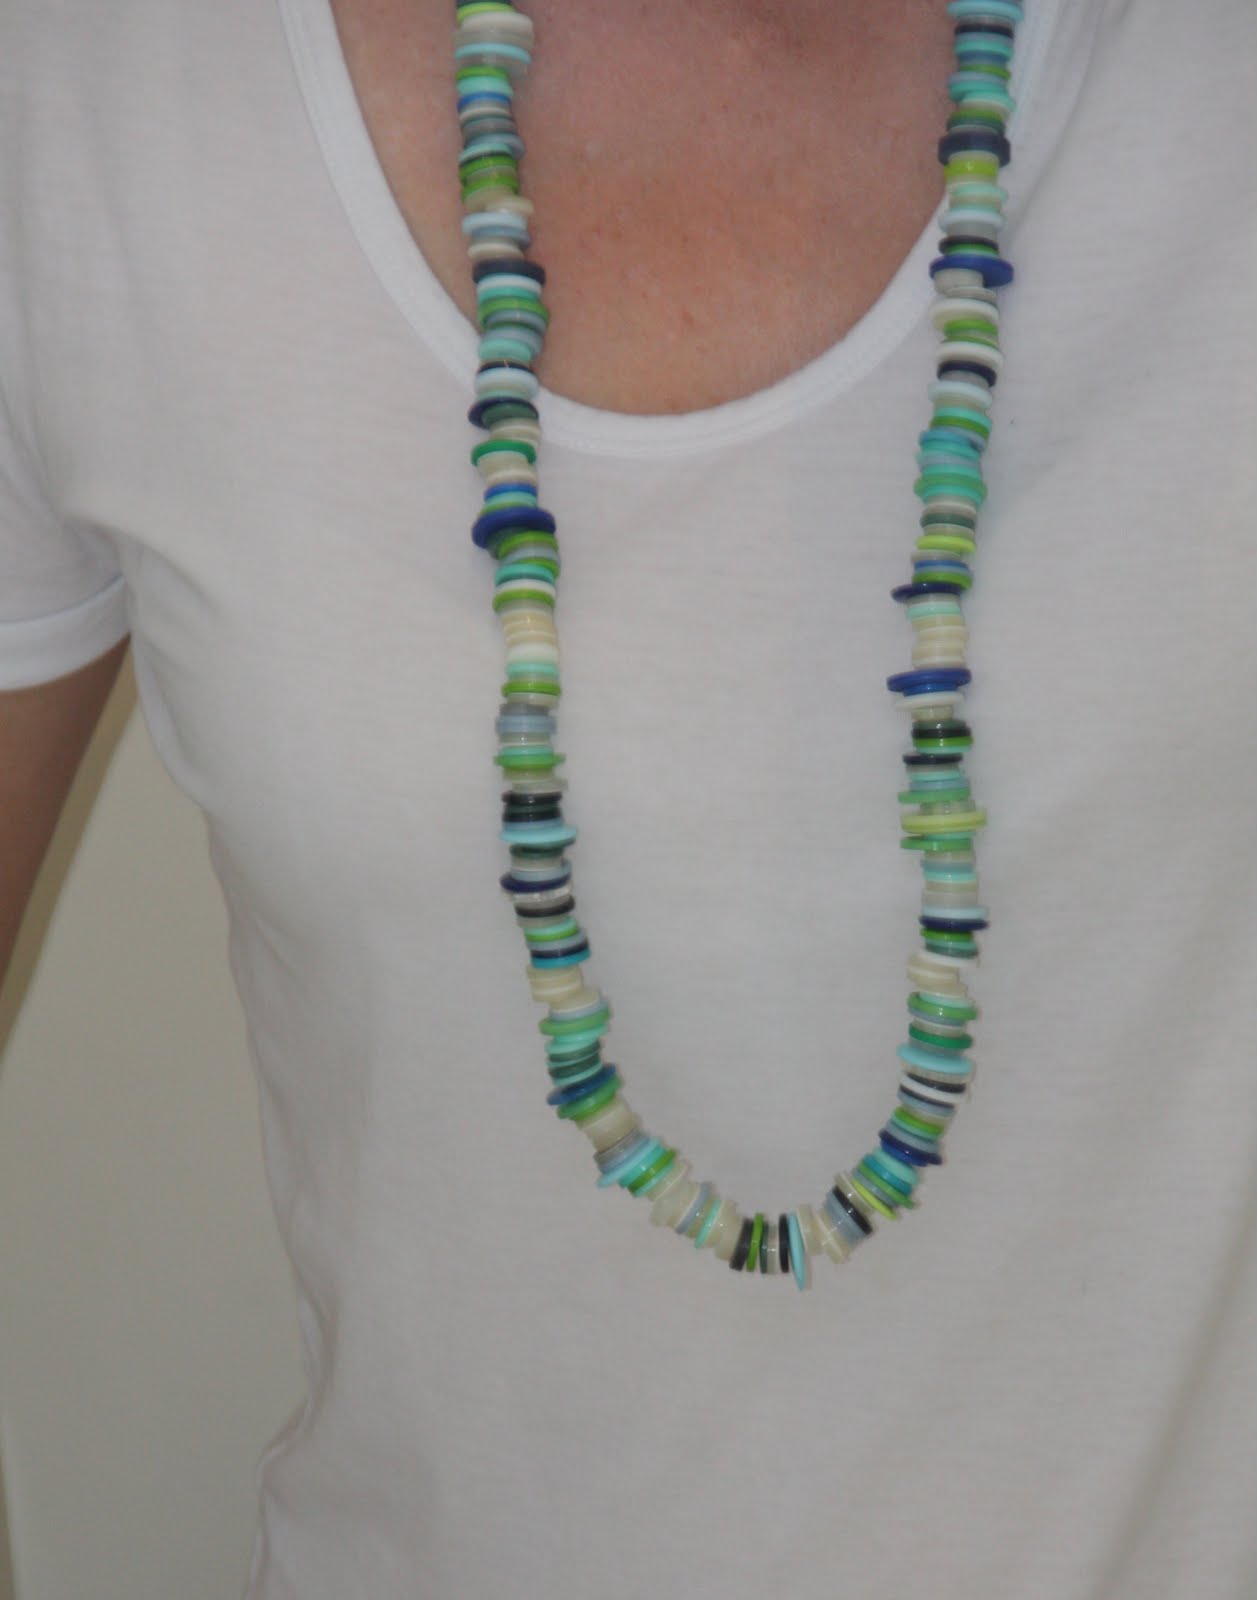
I found a huge bag of buttons very cheaply in one of the bargain bins at a craft store. I sorted through them and found some pretty blues, greens, grey, white and clear ones that looked nice together. I strung them all on a string - does not seem to matter if some have four holes and some have two... here is my very simple button necklace.

Not the best photo - but you'd be surprised how difficult it is to take a picture of yourself in the mirror with one hand and keep your shirt and the necklace looking OK!!


Monday, March 21, 2011

Children's notice boards


I had some old magnetic boards lying around that were in desperate need of a face lift!

One I decoupaged in some fun paper from Kikki K to match these transport magnets.


The other one is covered in fabric. I made the magnets from fabric covered buttons. So easy and so much more interesting than plain white boards!

Monday, March 7, 2011

Applique Name Towel


I recently appliqued this towel for my daughter and it was surprisingly simple.

I chose a font from 'Word' (this one is Cooper Standard Black, of course, you could choose any font from any application). Then I sized it for the towel and printed it (in black outline to save ink!).

I cut out the paper letters and traced them onto my chosen fabrics, ironed some double sided fusible webbing onto the back of the fabric and then cut out the letters.

I ironed the letters onto the towel and then stitched around the outside of the letters in a small tight zig-zag stitch. This was probably the most difficult or fiddly part and would also depend a lot on the font you chose.

I have not done much machine applique work before - but the fusible webbing makes the process so simple. With all the beautiful fabrics around - as they say - the only limit is your imagination.

Monday, February 28, 2011

Singlet / Tank top tote bag

I finally finished my 'upcycled' tote bag. It has been in my craft room for some time and my daughter has needed a bag for her dancing things for some time - but now all finished!


I started with an old singlet or tank top and some matching ribbon. The stripe pattern proved to be quite handy when sewing and cutting this bag!


Cut the top arm holes and neck away from the body.


Pinned the ribbon (both sides) to make the handles, being careful to match the placement of the ribbon on both sides.


As you can see I cheated quite a bit - the thin stripe on the ribbon provides the perfect stitching guide! After sewing on the ribbon handles I decided that the bag had too much of a 'waist' in it - so I re-stitched the sides and made the bag a bit narrower and straighter than the original tank top. Then stitched the bottom closed being careful to match up the ribbons at the bottom.


Using the left over material from around the sleeve and neck holes - I cut some strips of fabric. Then I gathered the strips of fabric and some left over ribbon to make three rosettes.


I hand stitched the gathered strips in a circular fashion to make the rosettes and sewed to the bag with a red button.

My daughter is very happy with her 'upcycled' bag for tap dancing! She even recognised it as my old top.

Monday, February 21, 2011

Vintage Pattern Cup Sleeve

I recently updated my mugs to these beautiful 'beakers'. I love the shape and the pattern but they can be a bit hot to hold when full of tea or coffee.

So... inspired by jodie court's cuff... I made these cup sleeves using feeling stitchy's Vintage pattern from the February Stitch along.I plan to make a few different patterns so I have enough for all my beakers... I think the floral pattern contrasts nicely with the stripes - so may be some more organic patterns.

Sunday, February 20, 2011

February Vintage Pattern Stitch Along - Finished

Well I finished my first ever stitchalong and I am proud to say it was even pictured on the feeling stitchy website. Can't tell you the thrill that gave me!!!


I also really liked the embroided cuff from jodiecourt. It is my inspiration for my next embroidery project using the vintage pattern from the stitchalong. Stay tuned....